


After reviewing which model to use, in fact it ended up being one of the cheapest cameras on the market. The G1WH (The WH is important – it provides a wider view.) is available from Amazon (Click here) at about £35, or £45 with a suitable 32Gb memory card. Although this camera has many of the features I was not looking for, at the price you simply cannot go wrong. The biggest issue I have with the idea of dash cam is installing it so no wires, leads or plugs are in the cabin. I hate a messy dashboard, so with that its important to consider :
- The car is a BMW X5, which means – The cigar is always on. It doesn’t switch on or off with the key.
- The battery and main fuse board is in the boot, but there is a fuse box in the glove box.
- As much as possible I don’t want to see the dash cam, I really want to install it and forget about it.
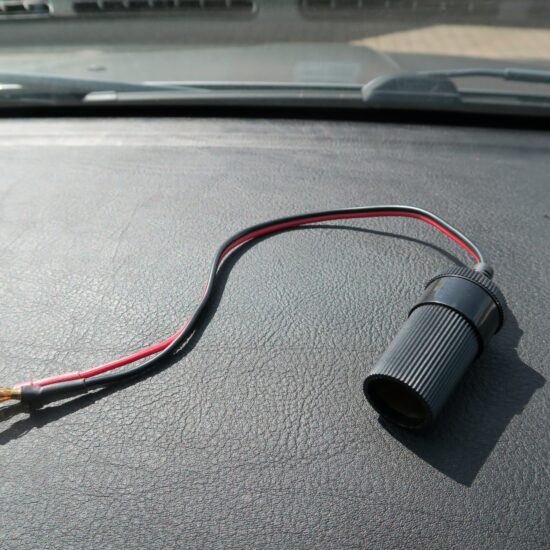
The easiest way to install the dash camera is to just plug it into the cigar lighter. But for me the camera would always be on and cables would be everywhere. However using a clever little gizmo called “add a circuit” I can remove a fuse from the fuse box and replace with the Add a Circuit. This creates a second fusible outlet for me to add a cigar lighter socket in the glove box. Because the car is a BMW it has a rechargeable torch in the glove box, which is quite frankly – useless. I can use the socket for this torch by simply plugging in some 4mm banana plugs into and wire in a cigar socket. this will achieve the same result – A switchable 12V cigar socket in the glove box.
The next issue was routing the cable, and as it happens this too was quite easy.
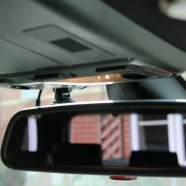
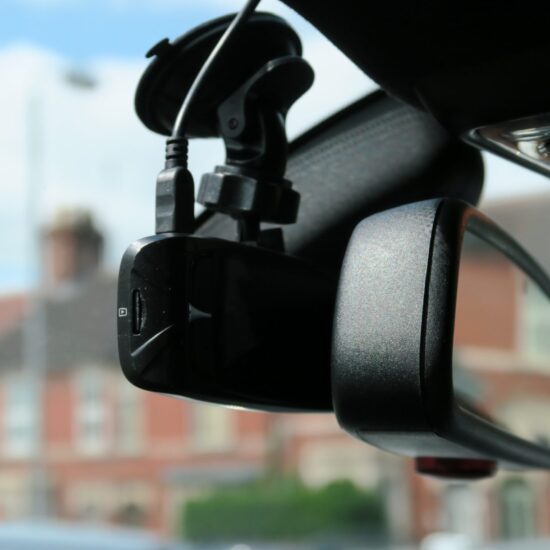
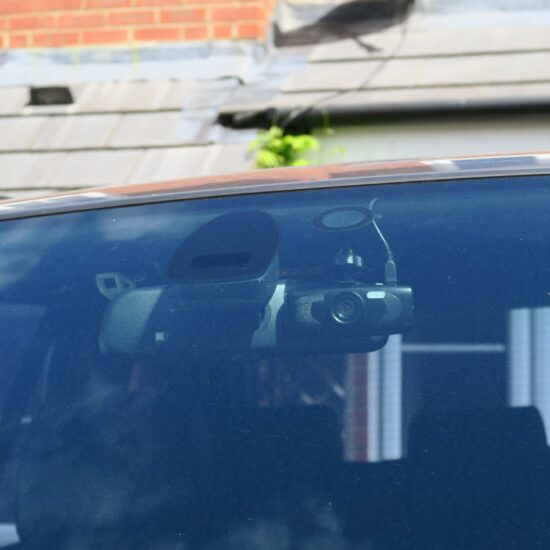
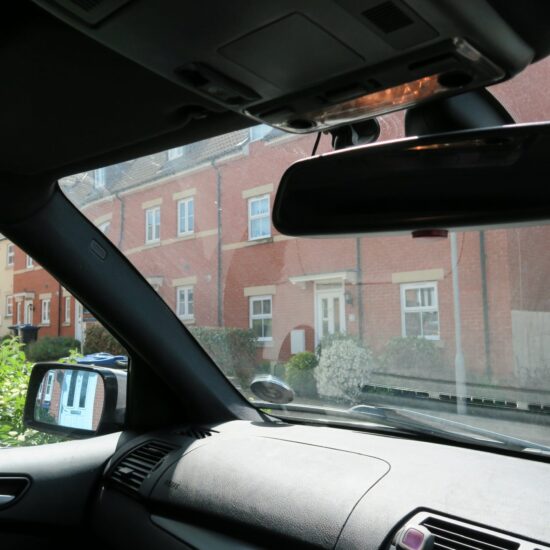
After fitting the camera behind the rear view mirror and using some trim tools (a plastic cutlery knife will also do) I stuffed the USB cable around the windscreen, down the door pillar, around the door jam and finally into the Glove box. I situated the dash cam behind the rear view mirror, because I don’t see the camera, I genuinely want it as an install and forget. In fact all I can see is the cable poking out the top of the camera.
Below is some pictures of the final installation. In the next part I will share my configuration and some captured footage.

Next, I set up and try out the camera in part 3.


No Comments
Trackbacks/Pingbacks