


Having an intact, undamaged breakaway cable is a legal requirement in the UK. If you demonstrate to the authorities that your cable is in less than tip-top condition you might be liable for a fine and points on your license.
Changing a breakaway cable is neither hard nor does it take long to do. So here are some simple instructions on how to swap over your cable.
There are many replacement breakaway cables on the market and as I have found with varying methods on how to attach them to your caravan. Lets go through the differences before we attach the new cable.
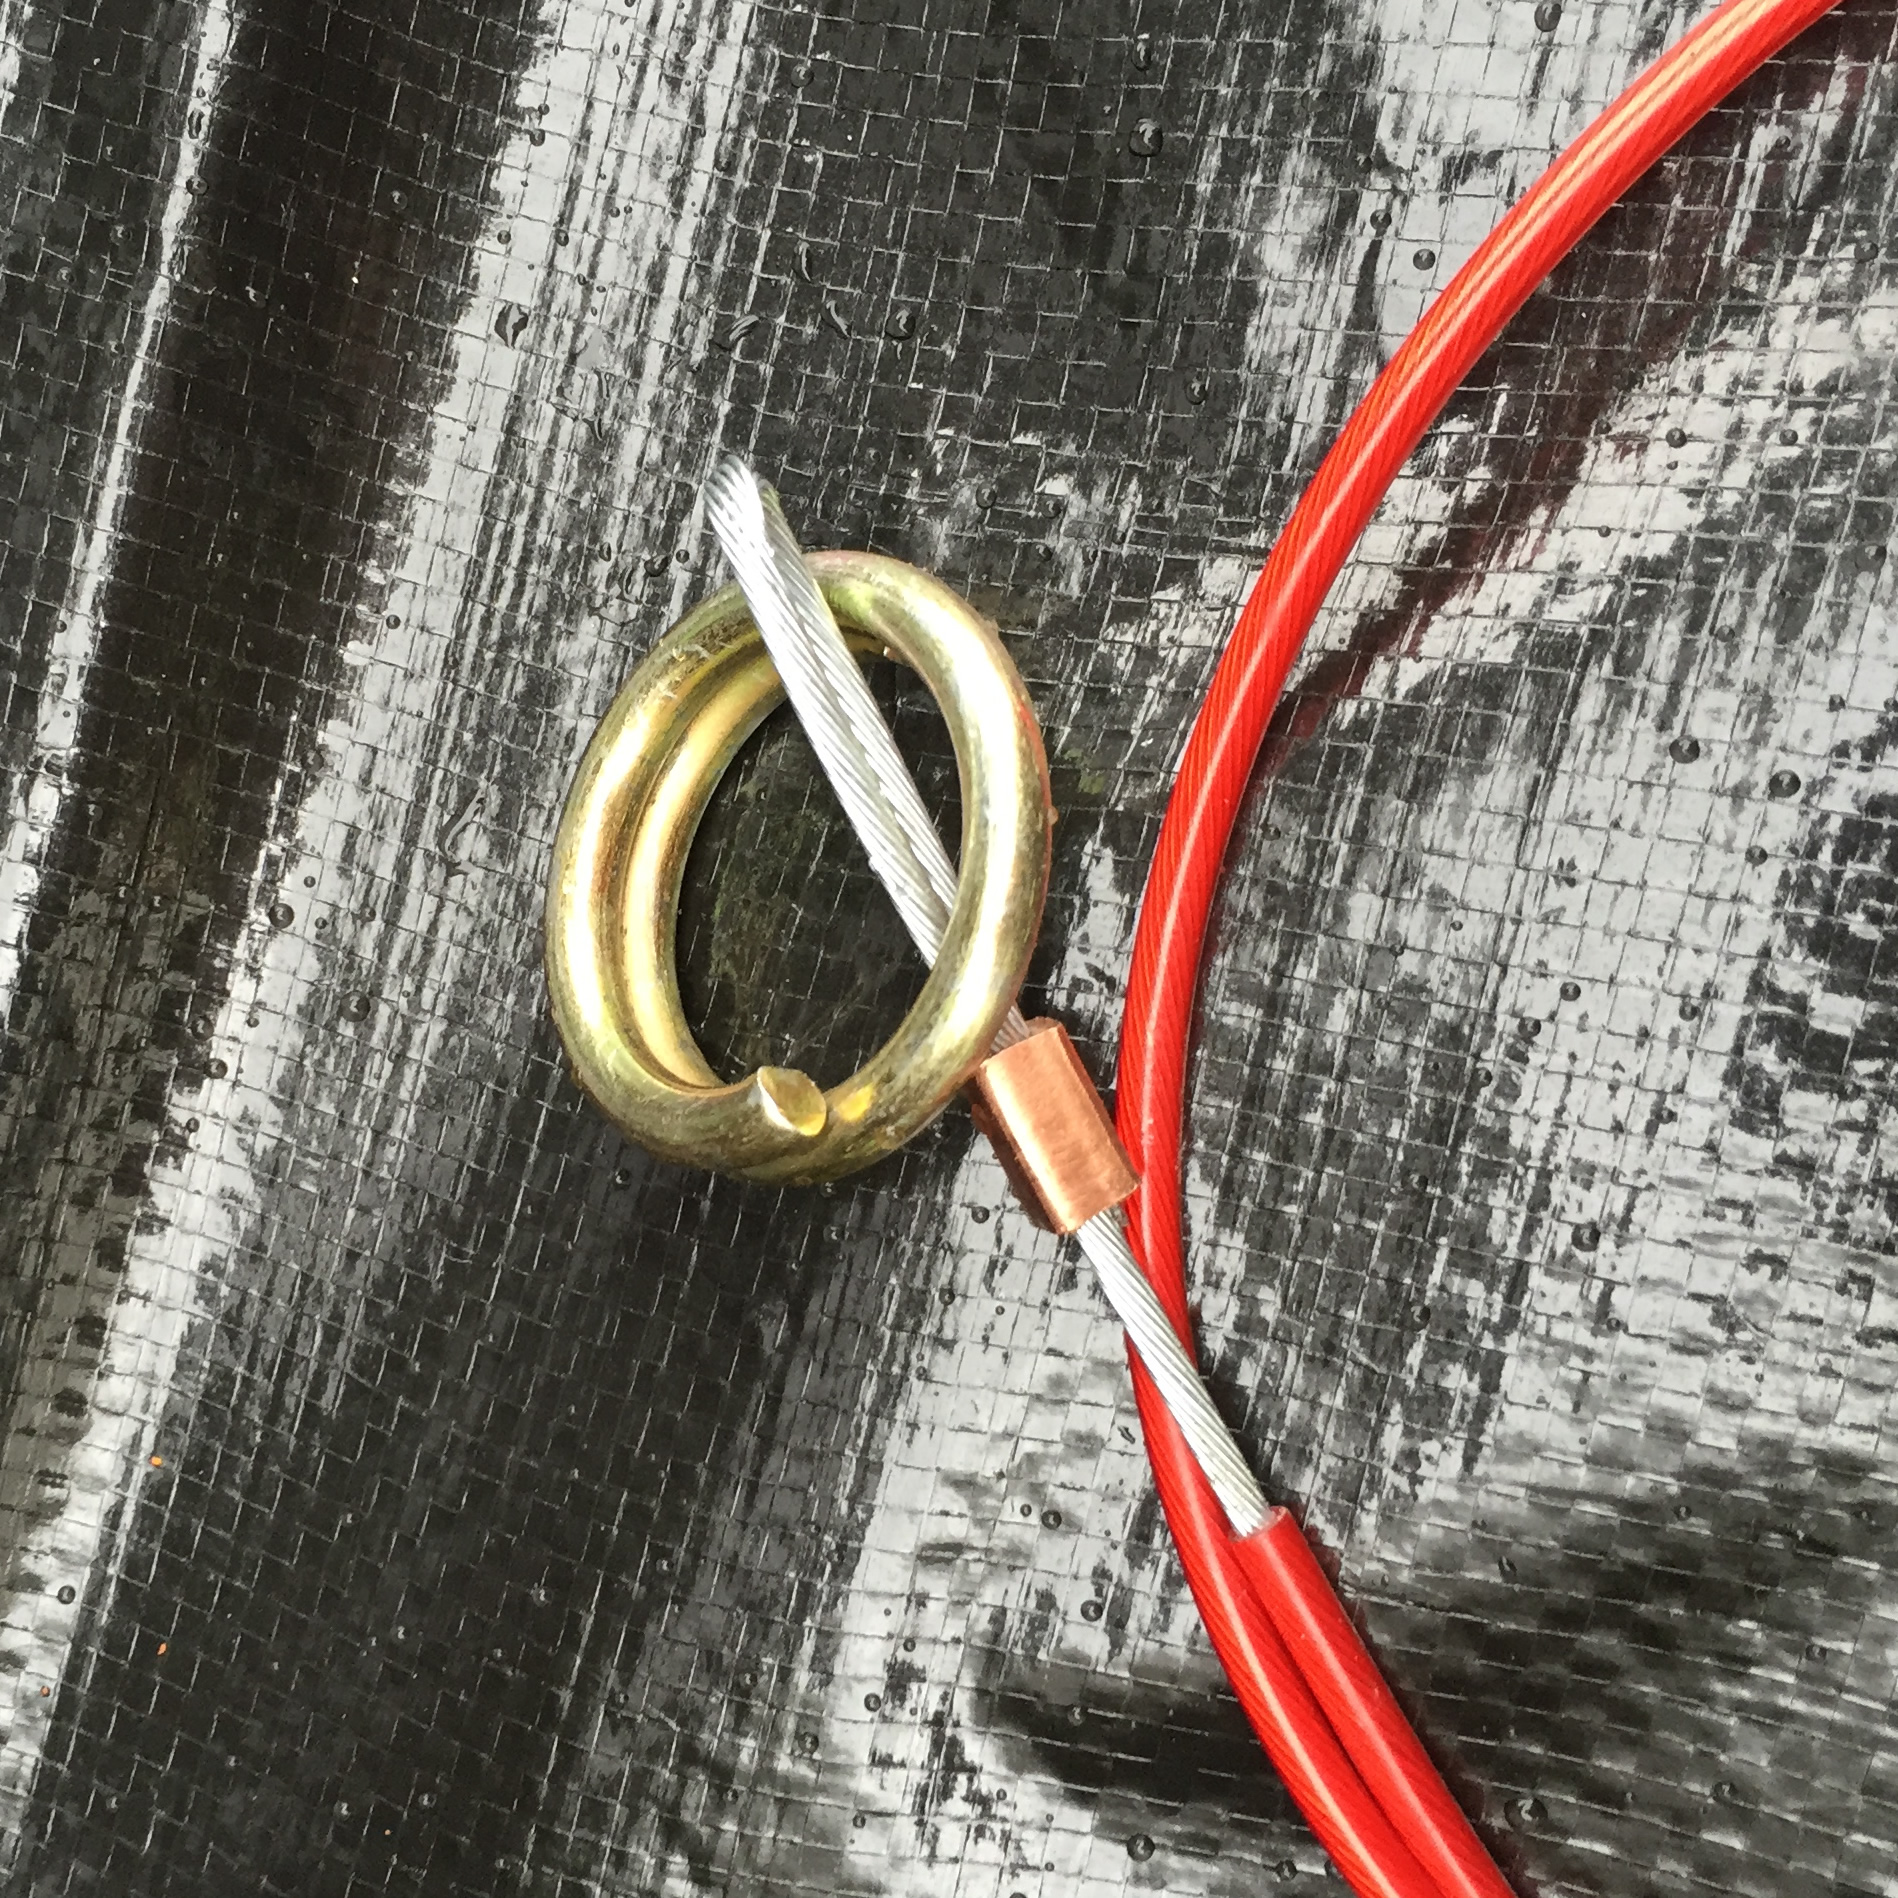
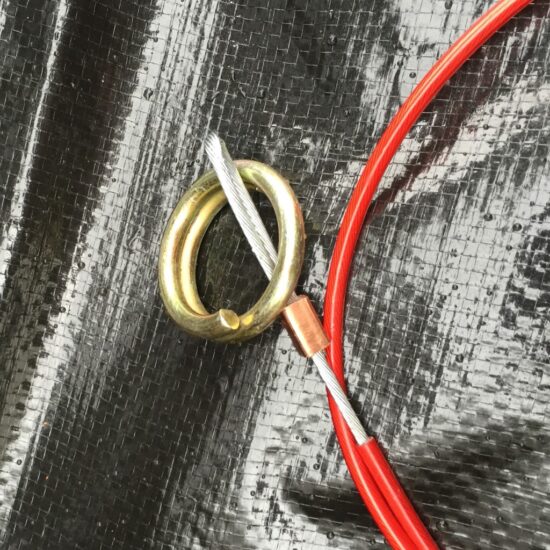
Split ring type breakaway cable
Ring end.
Very simple – this cable has a ring that works in a very similar way to how a keying works. You open the gap and slide the ring onto the bracket of your caravan with the cable held inside the ring.

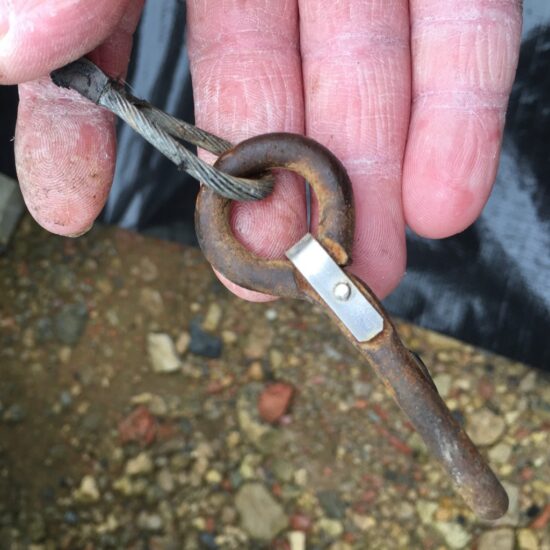
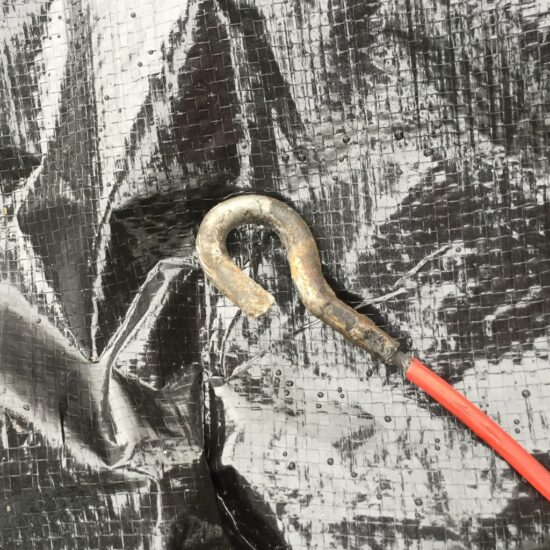
ALKO orginal breakaway cable. This is the original cable as removed from the caravan
Crimp end.
If you have an ALKO chassis and want the direct replacement this is the solution. The end hook is crimp hook. You will crimp the hook over the bracket on your caravan. Care should be taken to ensure the crimp is closed precisely and that the cable cannot come adrift. You will may need special tools, or if not you will need a strong pair of grips to close the gap sufficiently.

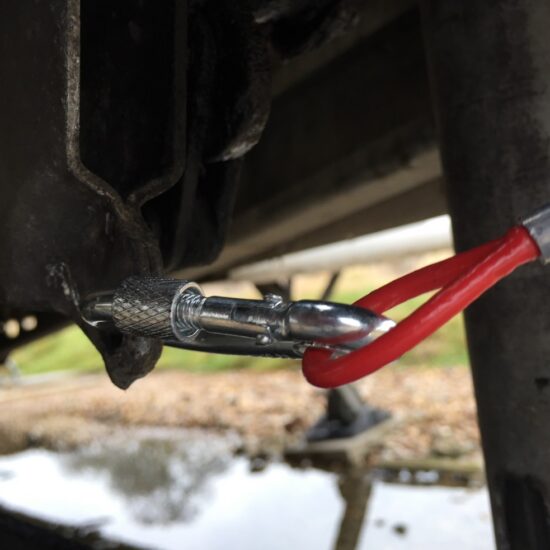
carabineer type end
Carabineer end
This is a very straightforward fitting and quite possibly the neatest way to replace the cable. The attachment is made by a carabineer that closed over the bracket, and a split ring locks the carabineer in place. This is perfect when you have limited tools or no tools at all.
There are other types specific for iFor Williams trailers but I wont be covering these in this article.
Which one did I choose ?
Well in fact I chose 2. Initially I went for the ring type but when I saw the simplicity of the carabineer type – I ordered one to see if it would fit.. The idea of having a breakaway cable that can be attached to the caravan without the need for tools is a perfect solution for carrying around in the caravan as a spare. This is how I fitted it onto the caravan.
You will need :
- Chunky pliers
- Side cutters
- Mole Grips
- A swear jar
Preparation.
When working under a caravan it’s a good idea to keep the handbrake on and the corner steadies down. Since we are playing around with the handbrake bracket I also have place chocks around the wheels and raised the front of the caravan to make access easier.
Method
1. Measure
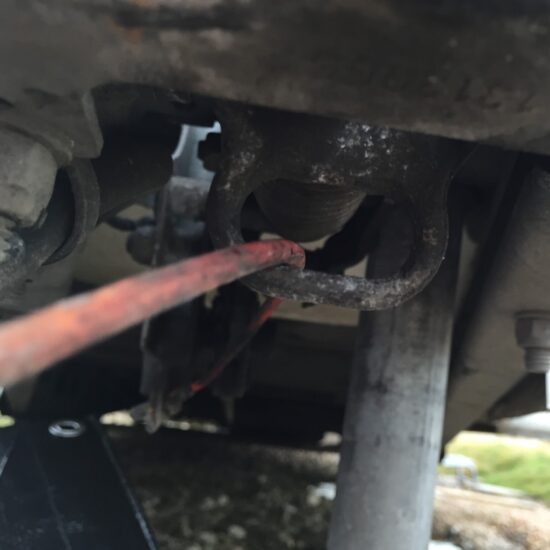
Make sure your replacement is the same length as the cable that you are taking off. The replacement I am using is about 5cms shorter – but this will be fine for me as we hook the cable around the swan neck of the tow bar (we have no where else to hook it onto.
2. Remove
Using chunky pliers open the end of the existing cable to remove the hook. Be careful not to bed the bracket with excessive force. In my case I opened the end just enough that I was able to pull the cable off the bracket by levering it with a screwdriver.
3. Inspect
At this point it’s a good idea to see where your current cable goes. Mine for example goes through a retaining slot at the front of the hitch. Its big enough to push the replacement cable through with the carabineer attached. I simply wiggle it through to get to the bracket.
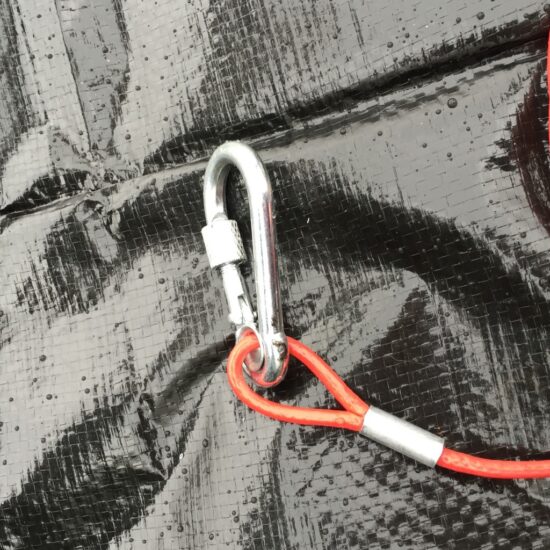
4. Replace
With this carabineer end re fitting is so easy simply hoot the carabineer through the hole on the bracket and close the split ring to lock it all in place.
5. Finish up
I’ve sprayed the cable with some WD-40 to ensure the damp stays away from the cable and the ends. Making sure not to get any of the spray anywhere near the hitch. Here are a few images from this little job.
And that’s it. This is a very straightforward job and easy to achieve with limited tools and limited knowledge. It’s a job you can do at home and for peace of mind – why not give it a go.


how about a video about fitting a Hitch Damper